The Silver Genetics DNA Kit Instructions

Congratulations on receiving your test kit and beginning your journey to better health!

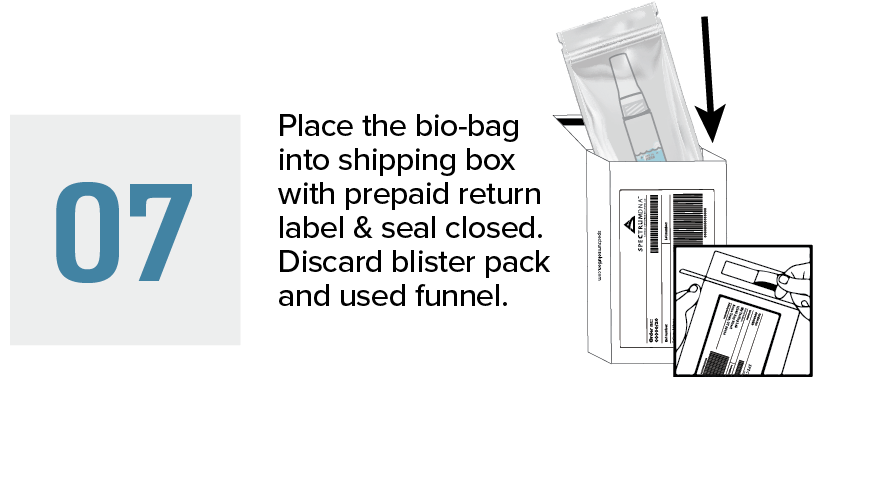
Discover how easy it is to complete your Silver Helix DNA test with our clear, step-by-step instructions. From collecting your sample to returning it safely, Silver Genetics ensures a smooth testing experience. Follow these guidelines to get accurate, reliable results that unlock your personalized health and wellness insights.

Powered by Silver Genetics
Do NOT eat, drink, smoke, brush teeth, or chew gum for 30 minutes before using this kit.


Step 01 - Fill the tube with saliva to the black wavy line. Fill the tube until your saliva (not including bubbles) is at the wavy line. DO NOT FILL ABOVE THE LINE.
Step 02 - Remove the funnel from the tube; Place cap on tube as shown.
Step 03 - Firmly screw cap down to release solution and seal tube. You will know it works when the blue liquid from the cap is released into the tube.
Step 04 - Shake the tube for at least five seconds. This mixes your sample with the liquid.
Step 05 - Write first and last name (no initials) and date of birth (MM/DD/YYYY) on tube label. This is a regulatory require­ment. Samples that are missing either identifier or that are not labeled exactly as instructed will be rejected.
Step 06 - Place the saliva tube inside bio-bag and seal closed.
Step 07 - Place the bio-bag into shipping box with prepaid return label & seal closed. Discard blister pack and used funnel.
Step 08 - Drop postage-paid shipping box off at any UPS drop.
download printable PDF

Find a UPS drop-off near you.

Supported by:

Spectrum Solutions

spectrumsolution.com